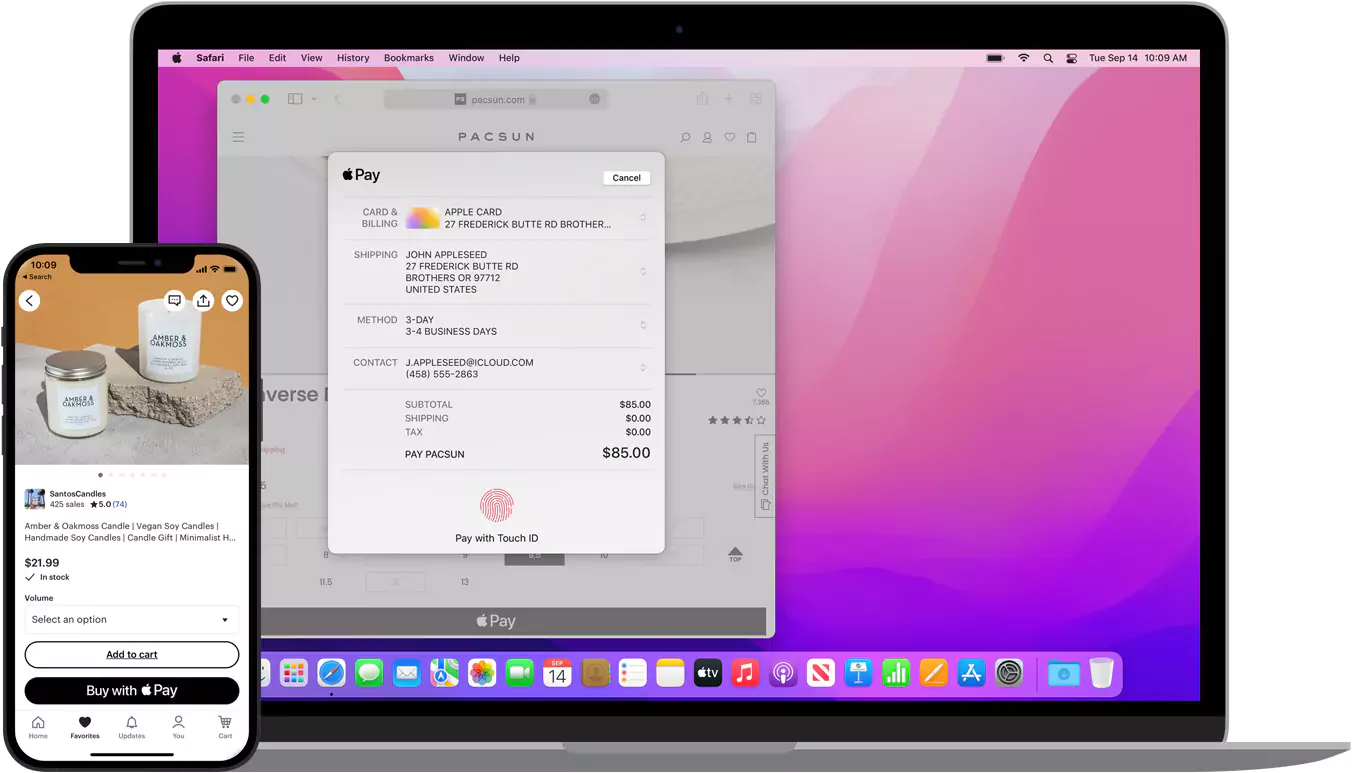
With the increasing popularity of digital payments, Apple Pay has emerged as one of the leading contactless payment solutions. While it is widely known for its convenience on iPhones and Apple Watches, many users are unaware that they can also send money using Apple Pay on their MacBook. In this article, we will guide you through the simple steps required to send money with Apple Pay on your MacBook.
Step 1: Ensure Compatibility and Set Up Apple Pay
Before you can send money with Apple Pay on your MacBook, make sure your device is compatible. Apple Pay is available on MacBook Pro models introduced in 2012 or later, MacBook Air models introduced in 2012 or later, and all MacBook models introduced in 2015 or later. Additionally, ensure that your MacBook is running macOS Sierra or a later version.
Once you have confirmed compatibility, set up Apple Pay by following these steps:
- Go to the Apple menu and click on “System Preferences.”
- Select “Wallet & Apple Pay.”
- Click on the “+” icon to add a new card.
- You can add your debit or credit card by following the instructions on the screen. Alternatively, you can also use cards already associated with your Apple ID.
Step 2: Enable Apple Pay for Online Payments
To send money using Apple Pay on your MacBook, you need to enable it for online payments. Here’s how to do it:
- Open “System Preferences” from the Apple menu.
- Click on “Wallet & Apple Pay.”
- Ensure that “Allow Payments on Mac” is selected.
Step 3: Sending Money Using Apple Pay on MacBook
Now that you have Apple Pay set up on your MacBook, you can easily send money to friends, family, or anyone else who uses Apple Pay. Follow these steps:
- Open the Messages app on your MacBook.
- Start a new conversation or select an existing one with the person you want to send money to.
- Click on the App Store icon in the Messages app.
- Select the Apple Pay icon.
- Enter the amount you want to send.
- If prompted, authenticate the payment using your MacBook’s Touch ID or Apple ID password.
- Review the details of the payment, including the recipient’s name, and click “Send.”
Step 4: Receiving Money with Apple Pay on MacBook
If someone sends you money through Apple Pay, you can receive it on your MacBook. Here’s how:
- When you receive a message with an Apple Pay payment, click on the payment bubble in the Messages app.
- Authenticate the payment using your MacBook’s Touch ID or Apple ID password.
- Confirm the payment details, including the amount received and the sender’s name.
- If necessary, select your preferred card for the payment.
- Click “Accept” to receive the money.
Conclusion:
Sending money with Apple Pay on your MacBook is a convenient and secure way to transfer funds to friends and family. By following the simple steps outlined in this guide, you can quickly set up Apple Pay on your MacBook and start sending or receiving payments hassle-free. Apple Pay’s integration with the Messages app makes it seamless to send and receive money, enhancing your digital payment experience on your MacBook.


