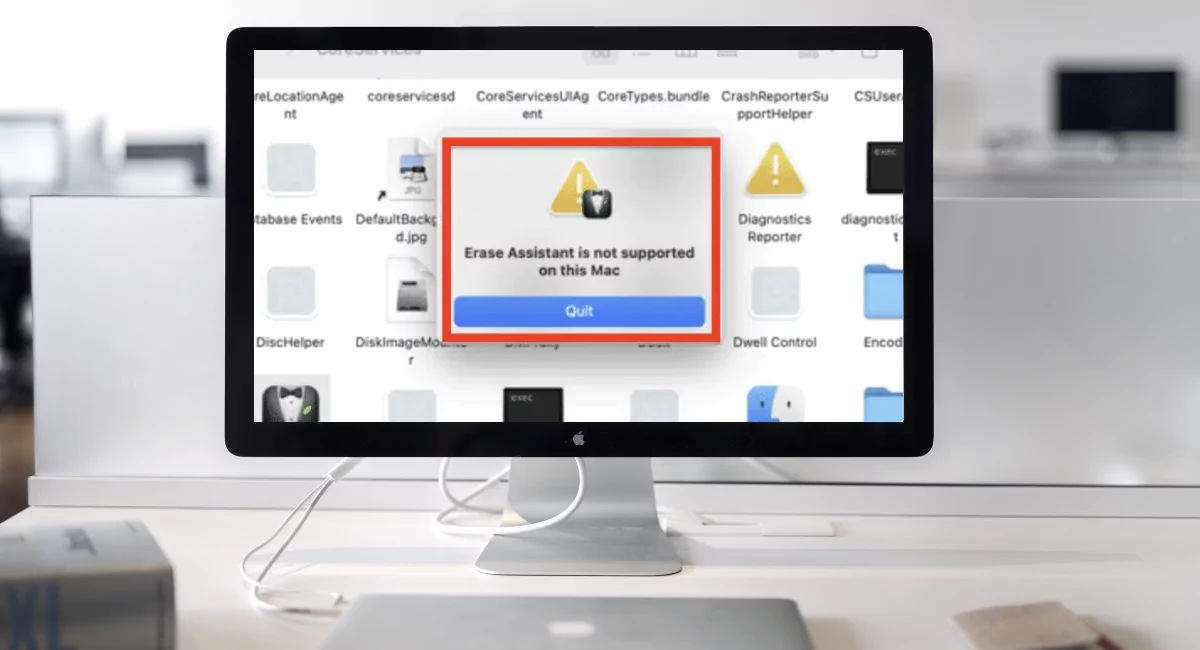
Erase Assistant is not supported on this Mac
Macs have long been known for their reliability and user-friendly interface. One of the handy features available on macOS is the Erase Assistant, which allows users to securely erase and reformat their storage drives. However, encountering an error message stating “Erase Assistant is not supported on this Mac” can be frustrating. If you’re facing this issue and wondering how to resolve it, you’ve come to the right place. In this article, we will guide you through troubleshooting steps to overcome the “Not Supported” error and successfully utilize the Erase Assistant on your Mac.
Step 1: Verify Compatibility
Before proceeding with any troubleshooting steps, it is important to ensure that your Mac model supports the Erase Assistant feature. The Erase Assistant is available on Macs running macOS High Sierra (10.13) or later. Older Mac models may not have this functionality. To check your macOS version, click the Apple menu, select “About This Mac,” and verify the version number.
Step 2: Update macOS
If your Mac meets the minimum requirements but you’re still encountering the error, it’s possible that you’re running an outdated version of macOS. Keeping your operating system up to date is crucial for accessing the latest features and bug fixes. Go to the Apple menu, select “System Preferences,” and click on “Software Update.” If an update is available, follow the on-screen instructions to install it. After updating, restart your Mac and check if the “Not Supported” error persists.
Step 3: Reset NVRAM/PRAM and SMC
Resetting the NVRAM (Non-Volatile Random-Access Memory) or PRAM (Parameter RAM) and the SMC (System Management Controller) can help resolve various system-related issues. These steps may vary slightly depending on your Mac model, so it’s recommended to refer to Apple’s official documentation for specific instructions. In general, here’s how to perform the resets:
To reset NVRAM/PRAM:
- Shut down your Mac.
- Press the power button and immediately hold down the Option, Command, P, and R keys simultaneously.
- Keep holding the keys until you hear the startup sound for the second time.
- Release the keys and allow your Mac to restart.
To reset the SMC:
- Shut down your Mac.
- Disconnect the power cord.
- On built-in keyboards, press and hold the left-side Shift, Control, and Option keys, along with the power button, for about 10 seconds.
- Release all the keys and reconnect the power cord.
- Press the power button to turn on your Mac.
Read More: Best Framework for Windows Desktop Application Development
Step 4: Run Disk Utility
If the “Not Supported” error persists, the issue may be related to disk permissions or corrupted files. Running Disk Utility can help identify and fix such problems.
Follow these steps:
- Launch Disk Utility, which can be found in the Utilities folder within the Applications folder.
- Select your startup disk from the left sidebar.
- Click on the “First Aid” button at the top of the Disk Utility window.
- Click on “Run” or “Repair Disk Permissions” (depending on your macOS version).
- Wait for the process to complete, and then restart your Mac.
Step 5: Contact Apple Support
If you have followed all the troubleshooting steps and the “Not Supported” error still persists, it is advisable to contact Apple Support or visit an Apple Authorized Service Provider for further assistance. They have the expertise to diagnose and resolve complex hardware or software-related issues.
Conclusion:
The Erase Assistant on your Mac can be a valuable tool for securely erasing and reformatting your storage drives. However, encountering the “Erase Assistant is not supported on this Mac” error can be frustrating. By following the troubleshooting steps outlined in this article, you can overcome this obstacle and unlock the full potential of the Erase Assistant feature.
Start by verifying the compatibility of your Mac model and ensuring that you’re running a supported version of macOS. Updating your operating system to the latest version can often resolve compatibility issues. If the error persists, try resetting the NVRAM/PRAM and SMC, as these actions can address various system-related problems.
Running Disk Utility to check and repair disk permissions or fix any corrupted files is another effective troubleshooting step. However, if you’ve exhausted all options and the error still persists, it’s recommended to contact Apple Support or visit an authorized service provider. They have the expertise to diagnose and address more complex hardware or software-related issues that may be causing the error.
Remember, troubleshooting steps may vary depending on your Mac model and macOS version, so it’s always advisable to consult Apple’s official documentation or reach out to their support channels for specific guidance.
By resolving the “Not Supported” error, you can fully utilize the Erase Assistant feature on your Mac, enabling you to securely manage your storage drives and maintain optimal system performance. Enjoy the benefits of a well-functioning Erase Assistant and make the most out of your Mac’s capabilities.